| |
In this tutorial we introduce the creation of object primitives in the 3D module.
The first action you perform when interactively starting a model from scratch is to create at least one primitive object. These objects are called "primitive", because they are simple geometric shapes that can be described by very few parameters. The simplest one of these is a sphere, which has only its radius as a parameter.
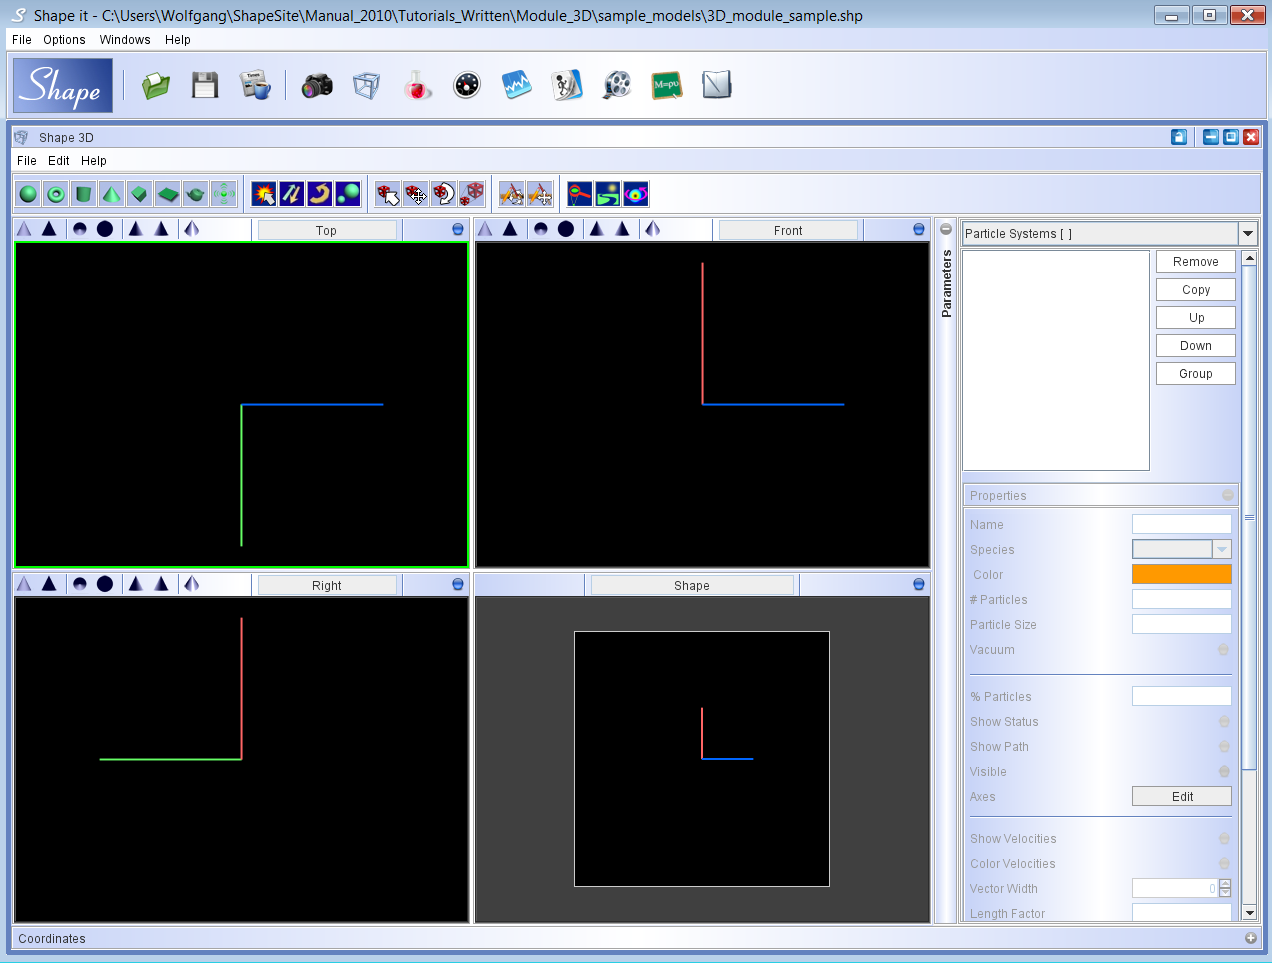
When you first start up the 3D module, you will find the interface as shown on the right. You can now create a primitive object by clicking on one of the primitive buttons. It is now activated. The icon background has turned red. To create the object in one of the views, click on one of them (preferentially the top view, which by default is the one at the top left). Left-Click again and release the mouse and then drag out the primitives first parameter. Repeat the click-release-drag action once for each addition parameters of the primitive. For example, a cone has three parameters: base radius, height and the top radius, which may be non-zero. Once you have completed one object, further objects can be added with the same procedure.
Among the primitives there is one non-geometric object: the emitters. This is used as sources of light in physical radiation transport calculations. Typically they will be stellar sources of light. The properties of these can be adjusted in the emitter properties panel that you can access in the object type drop-downlist on the right side of the 3D module. You can place more than one emitter at any position in space.
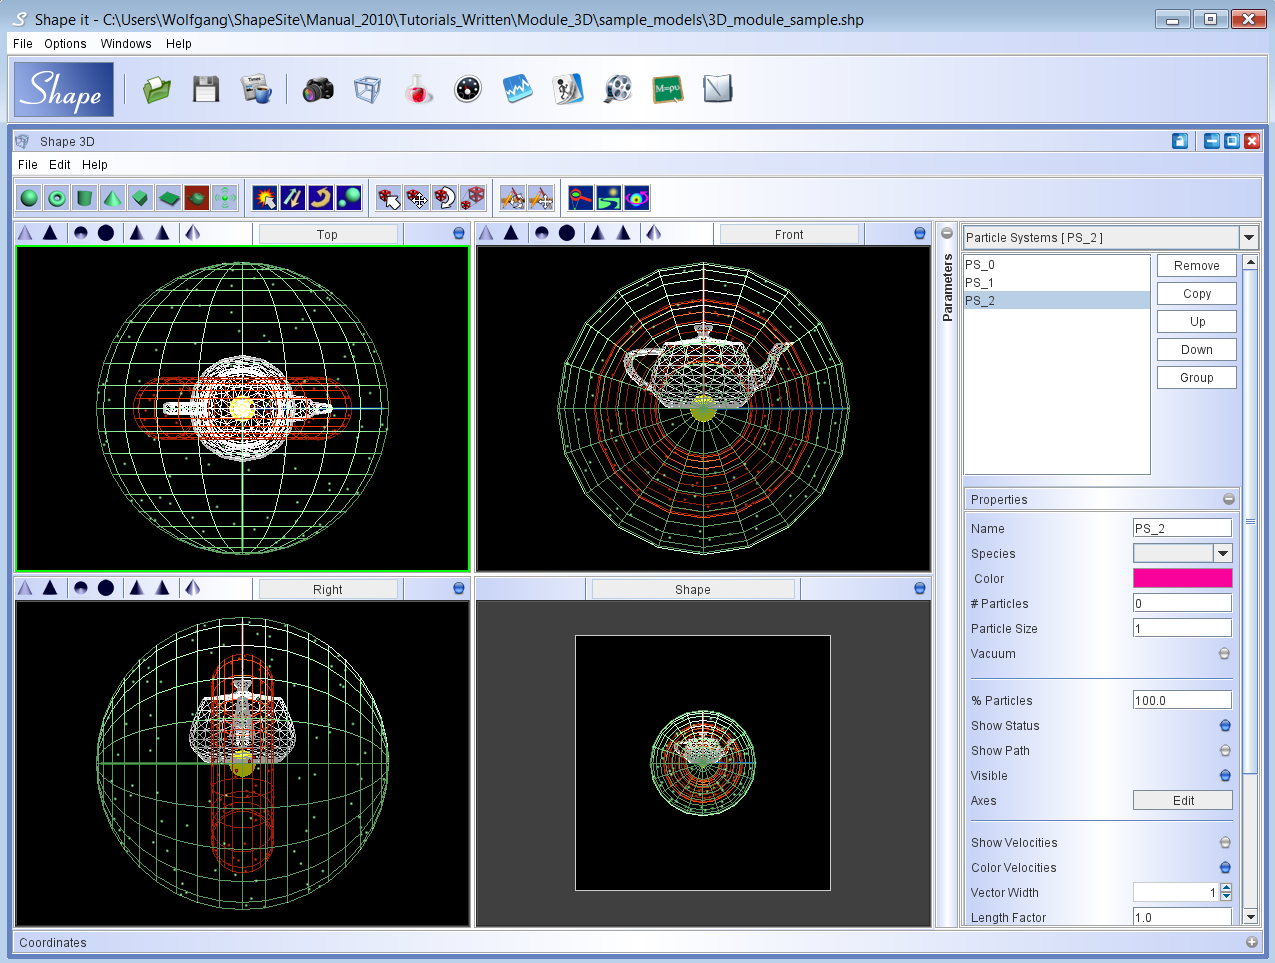
The second image of the interface shows three different objects, a sphere, a torus and a teapot. The teapot has been imported from a VRML file which has been created with an external 3D modeling software (3DStudio Max). It has been loaded using the the "teapot" primitive. Of course, instead of a teapot you might want to load an astrophysically more relevant structure. The VRML input opens the option to apply external programs that might be more powerful than Shape in creating certain structures (well, if you insist, you can actually make a teapot in Shape). When you click on the "teapot" primitive button, a file open dialog appears. Choose the VRML file (extension .WRL). After the dialog closes, click on the viewport to place the imported object in your scene. |

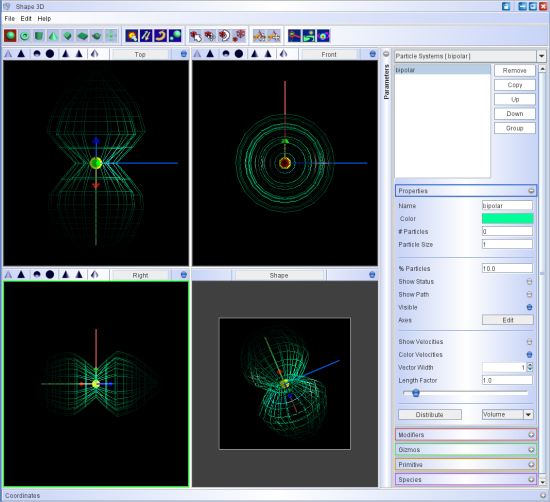
The primitive shapes: Sphere, torus, cylinder,
cone,
cube, plane, external VRML object, emitter.
|
| |
All primitives are initially created centered on the world origin. The can be moved using the object transforms or in a numerically more precise way with the corresponding transform modifier. Note that when moving an object with the object transforms the local coordinate system moves along with the object. If you wish to move an object keeping the reference point fixed, then you can either use the vertex transforms or the Shear modifier. Which one of these you want to use depends on the exact application.
Each primitives is automatically assigned a random color, which, among other parameters, you can change in the particle system parameter panel. Since by dragging out the object, you have no exact control over the size of the object, the geometrical parameters are set in the primitive properties panel. The numerical units are in arbitrary system units. The equivalent physical dimensions are obtained by setting th
e conversion between the system units and physical world units in Units Setup on the Rendering Interface.
A sample project file for the primitives as seen in the image can be downloaded here: sample project. The VRML file for the teapot can be found here: teapot. |