banner sun
                                                           3D Module                                                           
  Overview   Object properties   Modifiers   Tool bar   Menu bar
 
frame icon

Click on a section of the interactive image map to go to its help information or scroll down to the corresponding section.

3D Module Map Modifiers Modifiers species Menu bar Primitives Object transforms Vertex transforms Gizmo transforms Camera transforms Views Object type drop down list Object list Object properties Modifiers Gizmos Primitive properties Coordinates display


frame icon Tool bar > Menu bar  


3D menu bar

The File drop-down menu allows you to perform file input and output operations of the 3D Module. You can load external data to be used as particle systems in Shape or Save Images of the 3D viewports.

The Edit drop-down menu includes buttons to undo (Ctrl-z) and redo the last operation (note that this does not all types of operations). Open the View Undo dialog to see the operations that can be undone or redone at any time.

The Preferences dialog allows you to set a number of viewport parameters (see below).


3D menu bar file 3D menu bar edit


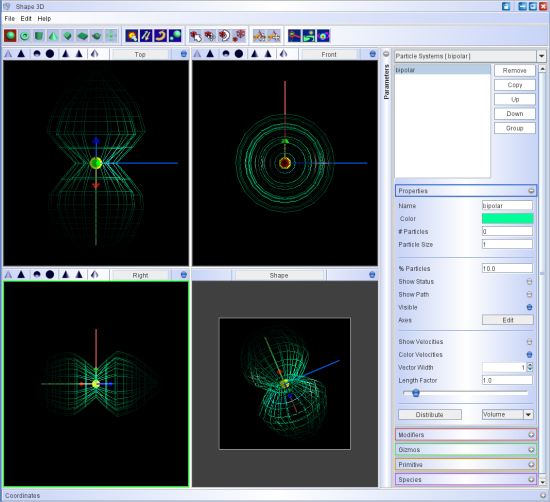
Import External Particle Systems

External particle systems can be included into Shape for visualization or analysis. They can come, for instance, from theoretical hydrodynamical simulations, observational data points from internal proper motion measurements to be compared with a model, etc.

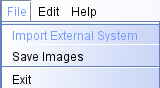
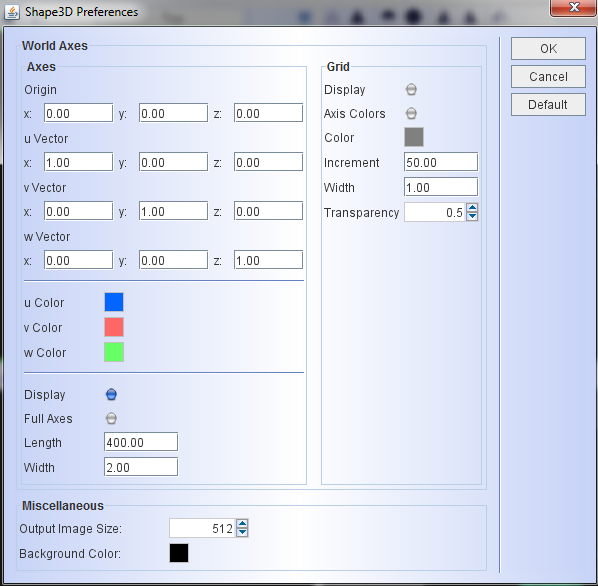
To load a particle system open the file opening dialog from the Menu bar > File > Import External System (see screenshot on the right).

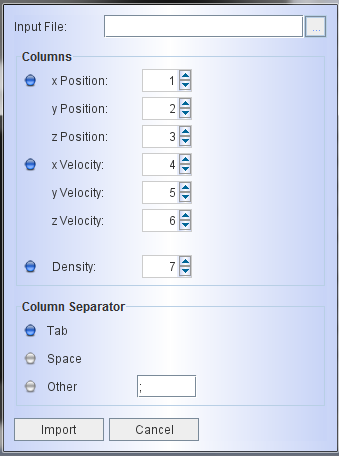
Then select and Input File. The file format should be ASCII with columns separating different data items, one row per particle. The order of the columns does not matter, since you can choose from which column each data item is load. However, position and velocity components should be in cartesian coordinates. The density can also be loaded. It does not have to be density, but can be any quantity that will be used as emissivity in Shape.

Make sure to select the correct Column Separator. Otherwise the data won't be read correctly.

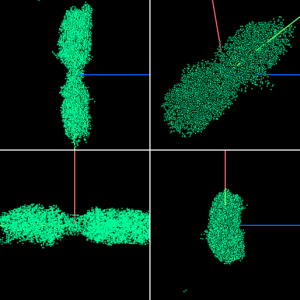
Once the data have been read into the 3D Module, there will be a default Density Modifier. To access the density information from the external particle system, you either have to disable (or delete) this modifier or change its mode to "scale". Otherwise, the distribution given by the density modifier is used directly. If you are not going to do any further operations to the density, then it is recommended to disable the density modifier, making further processing more efficient for large numbers of particles. If the number of particles is larger than 50000 or so, it might be recommendable to set the percentage of particles visible in the 3D view ports to some fraction of this amount.


3D menu bar file import external system


To apply further operations to the loaded density, you can use the density modifier in the scale mode. You can either increase the value of the density uniformally by changing the f0 parameter, or apply a position dependent operation by Editing the modifier. This might be of interest if the emissivity is dependent on the distance from an emitter, e.g., at the center of a nebula.

2D data from hydrodynamic simulations:
if you wish to visualize or analyze data from 2D hydrodynamic simulations in cylindrical coordinates, then you have to construct a 3D data set first. To do this, for each point in your 2D data set, generate a number of points along a circle around the axis. To keep a constant sampling on the circle, the number of points should be proportional to the radius of the circle. It is recommendable that the angular position on the circle is random. This avoids aliasing effects in the renderings.

It is very important that the velocity transformation is done correctly. To check this, it is convenient to use the 3D visualization of the velocity vectors.


Save Images

When you wish to save the images of the 3D viewports, click on the Save Images to open the file dialog. When saving the file make sure to include the file extension for the format that you wish to save your image in. We recommend .png, which provides good quality and compression for the lines that may be in the images.

3D menu bar file

save 3D images


Preferences

The preferences dialog allows you to set and change a number of display properties of the viewports.

These include the settings for the origin of the world coordinate system, coloring of the axes that are displayed (or not).

You can also display a grid that may help you to get oriented or accurately place objects in space.

We recommend to play around with the settings to see their effect.

3D preferences

Click on image for full resolution version.


  frame icon 05-Sep-2010  
Top